请注意,本文编写于 806 天前,最后修改于 586 天前,其中某些信息可能已经过时。
目录
写在前面
vue3已经变成了vue的默认版本了,之前一直使用vue2做项目开发,只是简单的学习过vue3和vue2的不同点,并没有真正用vue3实战过。
接下来会把学习重心转向后端,在暂时离开前端之前,用最新的vue技术跑通一次项目吧
(也是作为以后帮助我捡起前端技术的一个模板项目hh)
那么,正文开始
1. 用Vite创建项目
shellnpm create vite@latest
// 接下来跟着提示走就好了,选择vue项目
cd <project-name> // 进入项目目录
npm install // 安装依赖
npm run dev // 运行
运行效果就是这样
2. 引入Vue必备的几个库和依赖
2.1 引入Vue-router
①安装
shellnpm install vue-router@4 -S
// 在src下新建router文件夹
mkdir router
// 在router文件夹下新建index.js
touch index.js
②配置并引入
js// index.js
import { createRouter, createWebHashHistory } from 'vue-router'

const routes = [
    {
        path: '/',
        redirect: '/componentA'
    },
    {
        path: '/componentA',
        name: 'componentA',
        component: () => import('../components/ComponentA.vue')
    },
    {
        path: '/componentB',
        name: 'componentB',
        component: () => import('../components/ComponentB.vue')
    }
];

const router = createRouter({
    history: createWebHashHistory(),
    routes
});

export default router;
js// 在main.js中引入router
import router from './router'
③简单的写两个组件componentA和componentB
④在App.vue中使用
vue<template>
  <router-view></router-view> <br>
</template>
⑤看效果
根据index.js可知componentA为默认路由,所以默认显示A
我写的是AB之间相互跳转


2.2 引入Vuex
①安装
shellnpm install vuex -S
// 在src下新建store文件夹
mkdir store
// 在store文件夹下新建index.js和modules文件夹
touch index.js
mkdir modules
// 在modules文件夹下新建moduleA.js
touch moduleA.js
②配置
js// index.js
import { createStore } from "vuex"

import { moduleA } from "./modules/moduleA"

export const store = createStore({
    // 将store分割成模块(module),每个模块拥有自己的state、mutation、action、getter、甚至是嵌套子模块
    // 访问moduleA的状态:store.state.moduleA
    modules: {
        moduleA
    }
})
js// 配置moduleA.js
export const moduleA = {
  // 默认情况下,模块内部的action、mutation和getter是注册在全局命名空间的,如果希望模块具有更高的封装度和复用性,可以通过添加namespaced:true的方式使其成为带命名空间的模块
  namespaced: true,
  state: { // 保存具体的数据
      testState1: 0
  },
  getters: { // 获取具体的数据
      testGetter1: state => {
          return state.testState1;
      }
  },
  mutations: { // 修改state中的数据
      testMutation1(state) {
          state.testState1++;
      }
  },
  actions: { // 响应组件中用户的动作
      testAction1(context) {
          setTimeout(() => {
              context.commit('testMutation1');
          }, 1000);
      }
  }
}
js// 在main.js中引入
import { store } from './store'
2.3 引入Axios
作为一个真正的前端怎么可能不和后端交互,这个时候就要用axios网络请求库了
①安装
shellnpm install axios -S
// 在src下新建utils文件夹和api文件夹
mkdir utils api
// 在utils文件夹下新建http.js,用来封装axios
touch http.js
// 在api文件夹下新建index.js和api1.js,分别用来存放和调用网络请求函数
touch index.js api1.js
②配置
js// 配置http.js
// 封装axios
import axios from 'axios'
// 引入loading样式
import { ElLoading } from 'element-plus'
// 引入message样式
import { tipmessage } from './message'

class NewAxios {
    constructor() {
        // this.baseURL = 'http://api';
        this.timeout = 10000;
        // 允许cookie
        // this.withCredentials = true;
    }
    // 这里的url可供针对需要特殊处理的接口路径设置不同拦截器。
    setInterceptors = (instance, url) => {
        let loadingInstance
        // 请求拦截器
        instance.interceptors.request.use((config) => {
            // 在这里添加loading
            loadingInstance = ElLoading.service()
            // 配置token
            // config.headers.AuthorizationToken = localStorage.getItem('AuthorizationToken') || '';
            return config;
        }, err => Promise.reject(err));

        instance.interceptors.response.use((response) => {
            // 在这里移除loading
            loadingInstance.close()
            tipmessage("请求成功", "success")
            // todo: 想根据业务需要,对响应结果预先处理的,都放在这里
            return response;
        }, (err) => {
            // 在这里移除loading
            loadingInstance.close()
            if (err.response) { // 响应错误码处理
                tipmessage("请求失败", "warning")
                switch (err.response.status) {
                    case '403':
                        // todo: handler server forbidden error
                        break;
                    // todo: handler other status code
                    default:
                        break;
                }
                return Promise.reject(err.response);
            }
            if (!window.navigator.online) { // 断网处理
                // todo: jump to offline page
                tipmessage("网络错误", "error")
                return -1;
            }
            return Promise.reject(err);
        });
    }

    request (options) {
        // 每次请求都会创建新的axios实例。
        const instance = axios.create();
        const config = { // 将用户传过来的参数与公共配置合并。
            ...options,
            // baseURL: this.baseURL,
            timeout: this.timeout,
            withCredentials: this.withCredentials,
        };
        // 配置拦截器,支持根据不同url配置不同的拦截器。
        this.setInterceptors(instance, options.url);
        return instance(config); // 返回axios实例的执行结果
    }
}

export default new NewAxios();
js// 配置index.js
export * from './api1';
js// 写网络请求
// github这个接口属于开放状态,就用它来做测试了
import axios from '../utils/http';

export const fetchData = options => axios.request({
  ...options,
	method: 'get',
  url: 'https://api.github.com/search/users?q=xxx',
});
export default {};
③新建一个views文件夹,建一个Home.vue来使用
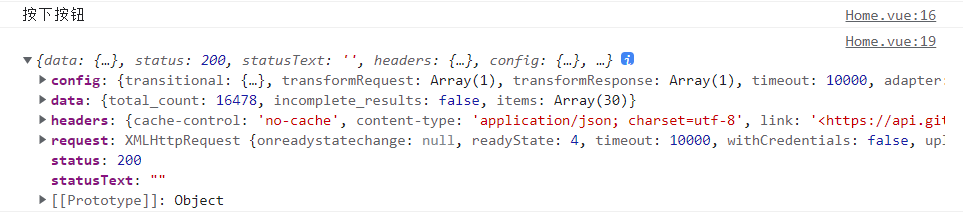
vue<template>
  <h3>Home</h3>
  <el-button @click="getrequest">发送请求</el-button>
</template>
<script>
import { fetchData } from '../api/index';
export default {
  name: 'Home',
  setup () {
    function getrequest () {
      console.log("按下按钮")
      fetchData()  // axios请求在这里
        .then((response) => {
          console.log(response);
        })
        .catch((err) => {
          console.log(err);
        });
    }
    return { getrequest }
  }
}
</script>
④看效果
3. 引入一个UI库叭
不管是新手还是懒人,引入UI库都是最方便的事情了(很多UI不用自己实现了)
比如我上面的消息弹窗都是用UI库实现的hh,但这玩意不是必须的,所以没写在第二点
我们引入Element Plus
①安装
shellnpm install element-plus -S
②引入
js// 引入element-plus
import ElementPlus from 'element-plus'
// 引入对应样式
import 'element-plus/theme-chalk/index.css'
// 这里可以按需引入,因为我只是写模板,以后也只用在个人站点,就全引入了,不考虑效率了
③自己小小的重写一下消息提示
js// 在utils文件夹下新建一个message.js
import { ElMessage, ElNotification, ElMessageBox } from 'element-plus'

export const tipmessage = (msg, type) =>
	ElMessage({
		message: msg,
		grouping: true,
		type: type,
		offset: 300,
		showClose: true,
		duration: 3000
	})

export const notimessage = (title, msg, type) =>
	ElNotification({
		title: title,
		message: msg,
		type: type,
	})

export const confrimmessage = (title, msg, type) =>
	ElMessageBox.confirm(
		msg,
		title,
		{
			confirmButtonText: 'OK',
			cancelButtonText: 'Cancel',
			type: type,
			draggable: true,
		}
	)
		.then(() => {
			tipmessage("Comfrim completed", "success")
		})
		.catch((error) => {
			tipmessage("Comfrim canceled", "info")
			// 继续抛出异常,便于调用时处理
			throw error
		})

export const promptmessage = (title, msg) => {
	ElMessageBox.prompt(msg, title, {
		confirmButtonText: 'OK',
		cancelButtonText: 'Cancel',
	})
		.then(({ value }) => {
			tipmessage(`Your input is:${value}`, "success")
		})
		.catch((error) => {
			tipmessage("Input canceled", "info")
			// 继续抛出异常,便于调用时处理
			// throw error
		})
}

export default {}
④使用
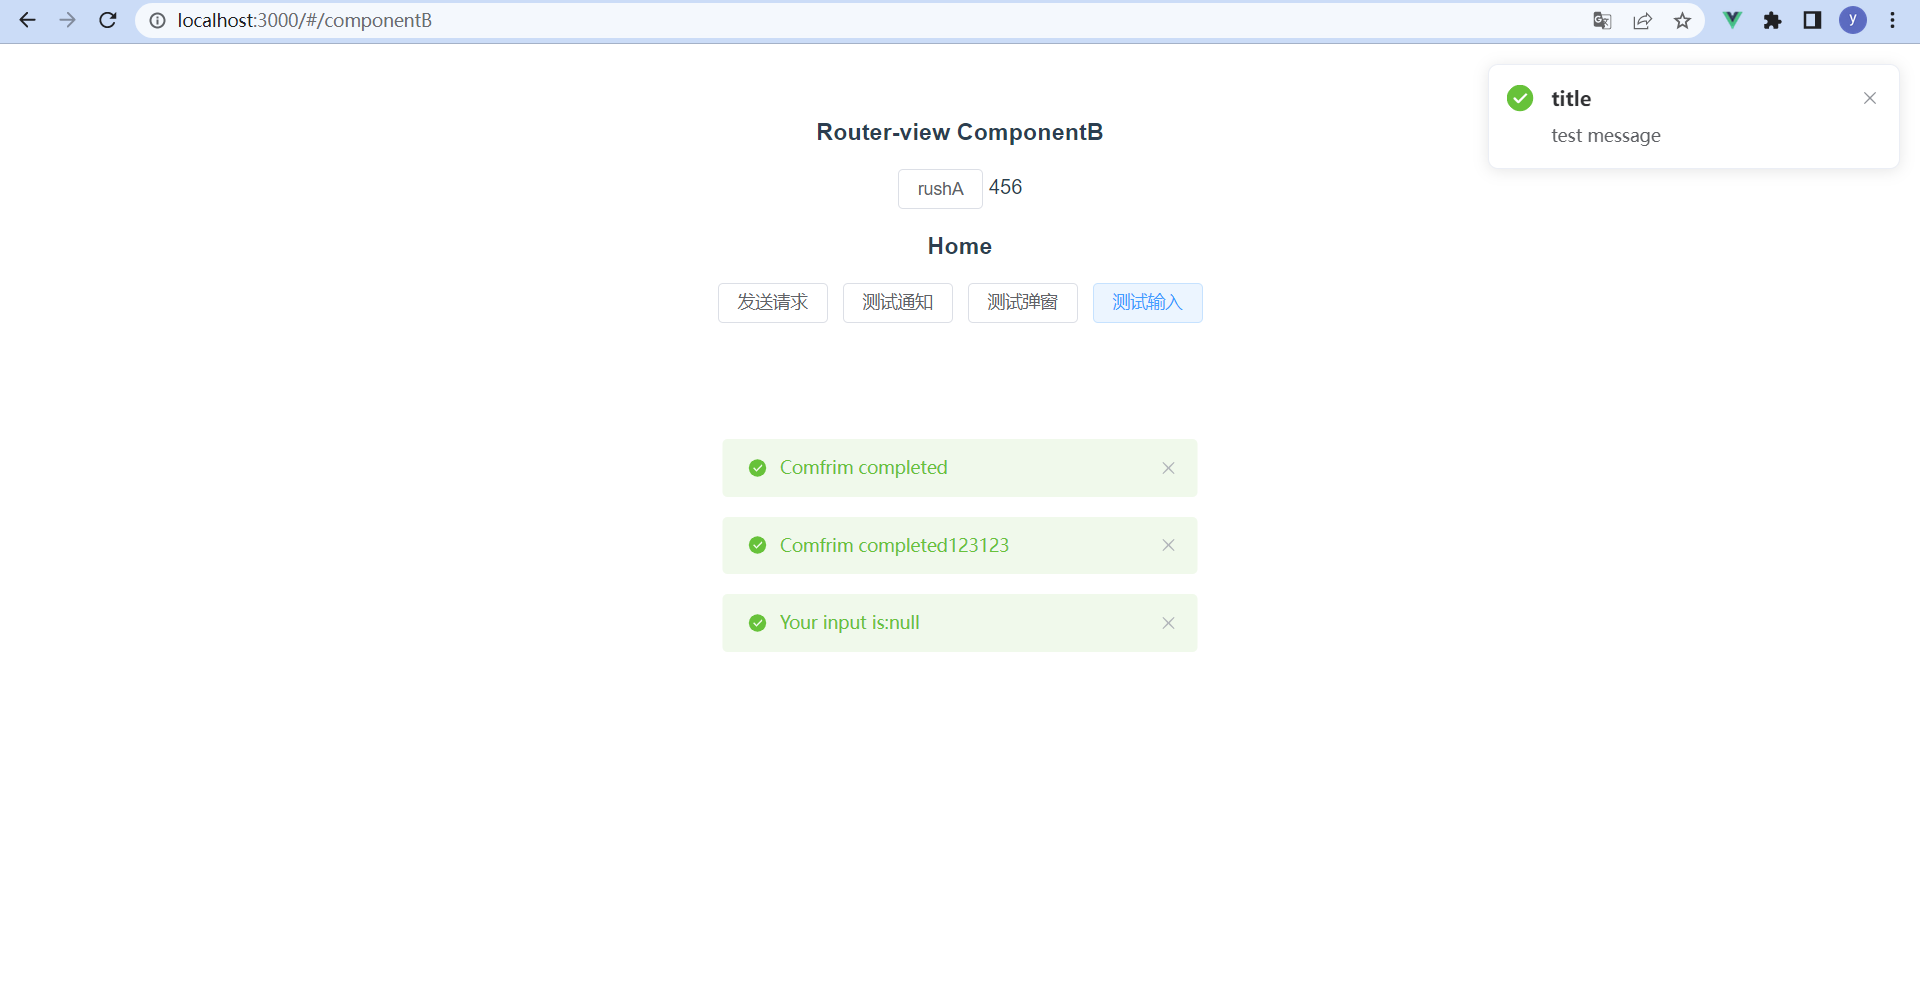
vue<template>
  <el-button @click="testnoti">测试通知</el-button>
  <el-button @click="testconfirm">测试弹窗</el-button>
  <el-button @click="testprompt">测试输入</el-button>
</template>

<script>
import { tipmessage, notimessage, confrimmessage, promptmessage } from '../utils/message'
export default {
  setup () {
    function testnoti () {
      notimessage("title", "test message", "success")
    }

    function testconfirm () {
      confrimmessage("标题", "具体内容", "success")
        .then(() => {
          tipmessage("Comfrim completed123123", "success")
        })
        .catch(() => {
          tipmessage("Comfrim canceled123123", "info")
        })
    }

    function testprompt () {
      promptmessage("提示", "请输入")
    }

    return { testnoti, testconfirm, testprompt }
  }
}
</script>

<style>
</style>
⑤看效果
4. 新技术
Vue3官方推荐的状态管理要用Pinia了,Vuex不是推荐的状态管理了
emmm,但我还没学Pinia,不急,以后全栈的时候再学到时候的新技术
5. 完结
一个用Vite创建的vue3模板项目就创建完成
可以直接用来开发项目了
冲冲冲
本文作者:southyang
本文链接:
版权声明:本博客所有文章除特别声明外,均采用 BY-NC-SA 许可协议。转载请注明出处!
目录